Part 9: The Epic of Ronan III
Eternity Falls
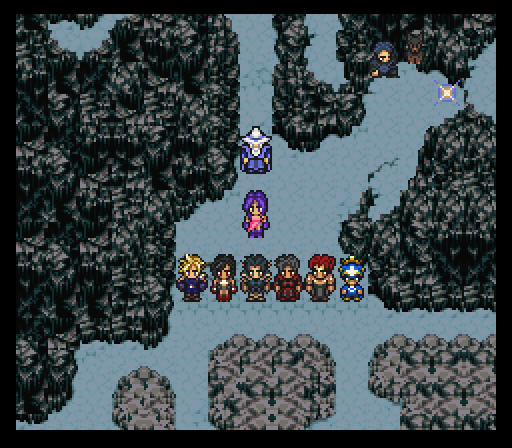
Firstly, when you enter the cave grab the Speed Tab just to the left of the entrance. Now back outside, the party decides that they'll have to risk it all and jump down the falls to land on the Beast Plains, then travel to Ruta Village to figure out what to do next. After the short cutscene, I run outside to save once more, then a minor timeskip cause of a trolling boss fight. This boss? Hope you like Pokemon references because there's a bunch of star shaped ones attacking the team.
The yellow stars are known as Staryus while the big purple mama star in the middle is a Starmie. The Staryus have Splash which can be rather nasty if multiple instances of it are cast since you're looking at roughly 400 or more damage if it's aimed at a single target. Combined with the fact there's five of the Staryus can easily mean death if they get trigger happy with Splash over several turns.
The Starmie also has some dangerous attacks. Thunderbolt sounds like it should be lightning damage, but in reality it happens to be its physical skill. The magic side of things includes basic spells like Spark & Storm, Frozen Beam, and its worst move, El Nino. That one can nail the entire party for over 400 damage. Starmie is weak to poison, so have Ronan equiped with Spider Fangs, two if possible, and a Power Glove Relic along with Speed Boots. I pass the Oracle Ring over to Avalon for better Cure results, and Arc gets the Griffen Eye and Paladin Icon, along with a Boomerang we picked up from Neko so he can Runic from the back row and still do decent damage. Last but not least Oboro rocks a White Cape and Mystic Ring for maximum protection against spell damage.
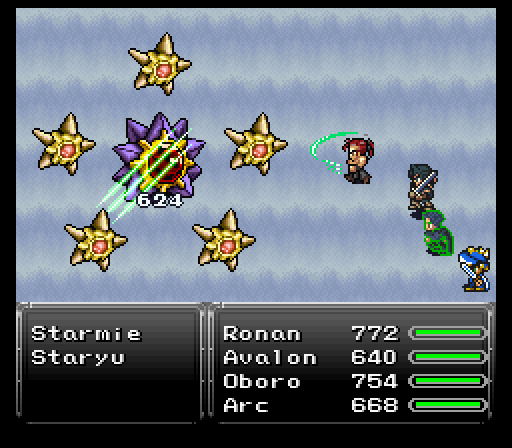
My strat here is just to destroy the damned Starmie as fast as possible. The two Bolt Scrolls I picked up so far are pivotal for Oboro because he's gonna throw both right away which will very nearly kill off all the Staryus on their own. One multi target Havoc Sword from Avalon will ensure they die by that second Bolt Scroll. Bonus if the Havoc Sword confuses some of the Starmies like it did here because that means a better chance of surviving past the second salvo of attacks. After quite a bit of time Starmie will use Force Field, which negates damage of a random element. Hopefully it isn't poison! You may also witness the Staryus protecting other weak Staryus from physical attacks if they are near death, and same for the Starmie. Not only is this cute, but it's super effective! ...Get it?
Once the Staryus are gone, I go into all hands on offense mode. I need that Starmie dead before it can bring back its cohorts. To that end, I've been having Ronan focus damage on the Starmie from the word go. Once the Staryus are gone, Avalon casts Frenzy on Ronan to boost his damage to absurd levels. That's generally enough for me to get to the end, but Avalon was in critical for his last action of the battle and he pulled off his desperation attack, Sublime Eclipse, to smack the Starmie for 2.4k damage and kill it. Don't sleep on those Desperation Attacks!

After the battle, the team finds themselves on the Beast Plains minus Oboro who shuffled off to wherever. Ruta Village is to the north, but you're going to want to go south first. At the edge of the continent is an island that looks like you can't reach at first, but the water is shallow enough around here that you can walk across it to the other side. To the west is a cave, but save before going in because the enemies inside are insanely strong. Too strong for you to handle right now actually. Run or Teleport from any fights you get inside the cave.
Inside this cave? A single chest with a Cael Hammer. Nice attack power and can randomly cast Break. Arc will appreciate this once he's done learning Dispel.
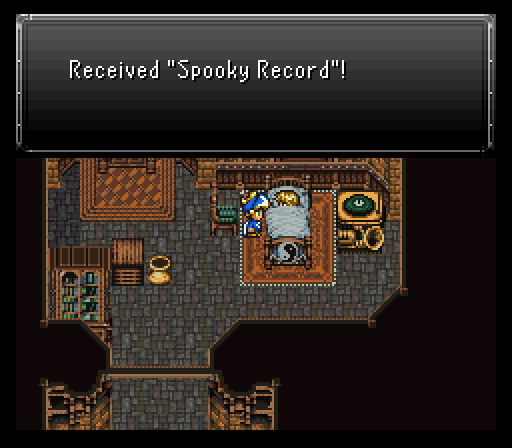
At Ruta Village, there's two important things to do. One of them is to visit an injured soldier just southwest of the relic shop. He wants to write back to his girlfriend in another town, but his injuries make it too hard for him. You'll need to read him a letter, then head to the postman in the house to the east, pay 500g, go check out any shop's wares, then return to the soldier's house. Rinse & repeat until you've spent 2500 gil. The soldier will then hand over a Spooky Record, an item that'll have some use later on.

The other important figure is the kid standing just outside of said soldier's house. This initiates a game of hide and seek with five kids and you're tasked with finding all five of them. This event is entirely optional, meaning you could choose to bypass it if you already know where to go and what to do, but where's the fun in that?
Their locations are as follows:
- Behind the relic shop
- Behind the postman's house
- Hiding in trees to the east of the postman's house
- Hiding slightly to the south of the item shop
- Hiding in trees to the west of the weapon & armor shops
For finding all five, you get a Hide and Seek Badge plus a big hint about some kind of underwater breathing apparatus located in the next destination you'll have to go to, which is the Star Mountain cave.
Ronan's final push to Fraust
Grabbed three sets of Speed Boots from the relic shop which grants auto haste along with a Ninja Sight which grants a higher chance of preemptive strikes as well as preventing back & pincer attacks (except for scripted fights of course).
In the armory, I pick up another Mystic Sword for Arc, which may be your first if you didn't purchase one from Neko ages ago, a Hawk Cleaver (weapon that Arc or Cloud can use), and a spare Wizard's Cap.
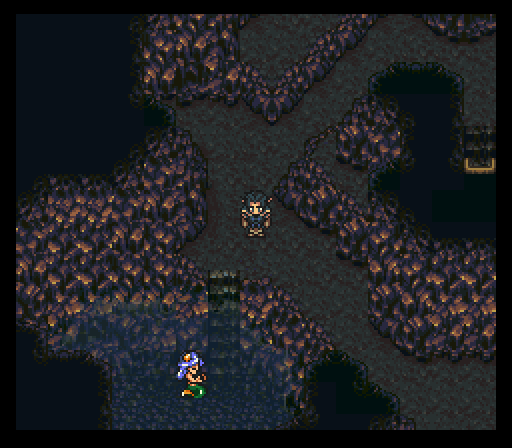
Once those purchases are made, it's time to go grab that underwater helmet. From Ruta Village, just go west all the way, then follow the mountainside south until you can go west again. You should be able to spot the cave entrance soon afterwards.
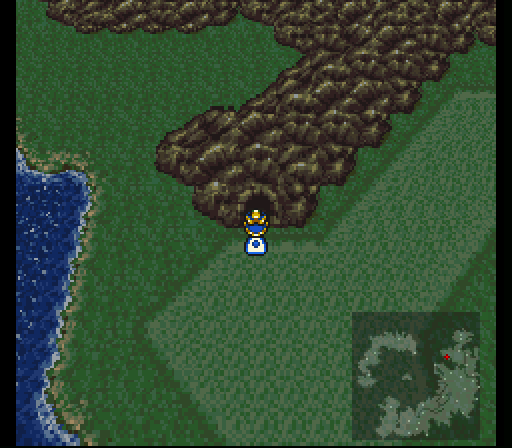
Inside the cave, the helmet is in the same spot as it was in vanilla. Just head straight south after getting off the bridge in the northeast and you'll barrel into it, pick it up, and go off to the Zolom Trench. There are also some other treasures scattered about the cave, an X-Potion, Soma Drop, Scrap Metal, Beast Hide, Ninja Star, and a Speed Tab.
The Zolom Trench doesn't have giant snakes that want to eat you or roast your entire team alive, but it does have a couple new enemies in the Sahagin & Hydromage which you'll fight in the underwater sections. Sahagins have a pretty potent Splash spell and make it impossible to run until all on screen ones are killed.
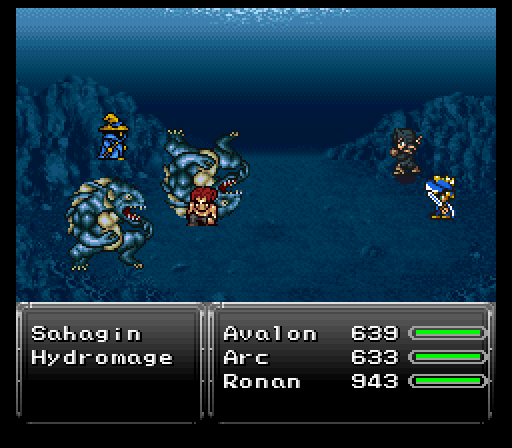
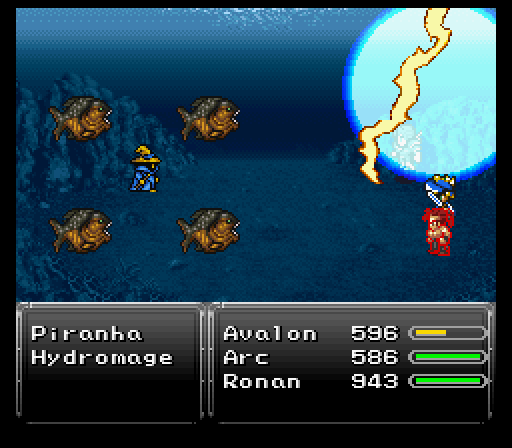
The Hydromage though is the most dangerous enemy by far. Water Bolt inflicts stop, but the real danger is Giga Volt. If it casts this, you are basically losing a party member unless they've got at least 900+ hp. Even better when it uses this as a counter as Avalon found out from the second one encountered.
Best strategy for this area is to only fight when the game forces it upon you due to Sahagins. Due to how it's setup, you can't open the menu when you're in the underwater sections. Thankfully, if you go right at the two forks during the trip, you'll only get into a total of three battles. Two during the trip to the first cave and one heading to the second cave. Besides that, make sure Arc has Runic charged to absorb said Giga Volt, and have Ronan do the heavy lifting with his Combos. Avalon should focus on healing and firing off Havoc whenever possible.
The cave sections are small, but both have a good treasure in them (5k gil in the first cave, Soma Drop which raises one target's max mp in the second cave). There's also two enemies in here not seen in the underwater sections, Vineshrooms & Golden Flans. While the latter is best run from due to low rewards and powerful AoE skills, the shrooms can be dropped fairly quickly with fire based moves. Just be careful if one's left because it likes to use Magnitude Eight for 300+ damage to the team. It's an earth attack though so the Angel Pendant relic's auto float can keep one team member safe.
Be sure and take note of the mermaid in the second cave... later on in the game you can actually come back here and speak with her to receive a powerful relic!
Once you make it through in one piece (which for me was my third attempt to get through, damned Hydromages), you'll arrive in Kaldor Trade City.
In this town, while you can take the ship to head back towards Fraust, you'll want to look around first. There's lots of hidden goodies to pick up and new shops to peruse. If this is your last scenario, as it is for me, then this is the last chance to stock up on items and purchase equipment for the upcoming battle, so take your time and get everything you need. The weapon shop has buyable Titan Claws while the armor shop has, among other things, White Dresses (good armor for Aurora with a big boost to magic power) & Ashen Cowls (Fire resistance! Get three of these pronto).
The relic shop though? The main reason I farmed up so much extra gil because there's buyable Mystic Rings & Mithril Gloves. Didn't farm up enough gil because I couldn't get a full set of four for each, but even having at least two of each will make your life MUCH easier.
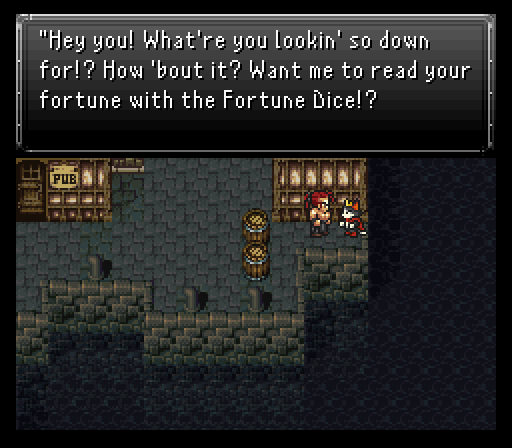
There's a fortune teller as well to the southeast who appears to be none other than Cait Sith from FF7. You can have him read your fortune for the small price of 50 gil. Most of the time his fortunes will be generic, but there's a small chance you can get 1,000 gil back, and an even smaller chance the party will receive a level up. But that can happen just once, so don't waste your hard earned gil trying to gain more than one level from him.
Be sure to search the trees around the northwest of town, next to the fisherman, as it seems he likes to practice his Shuriken-throwing skills at them. There's also another well-hidden treasure in the trees next to the fisherman on the other side of the river, which I doubt most players would ever find. Looots of obscure treasures to be found in this mod!
Speaking of obscure, if you sleep in the inn, there's a chance you will encounter a seemingly random event where a ghost shows up in the middle of the night. Spooky~ If you search the exact spot on the ground where he disappears, you'll find a Magic Tab. You don't need to trigger this event for it to be findable, but I suppose without this cryptic hint nobody would ever attempt to search there at all.
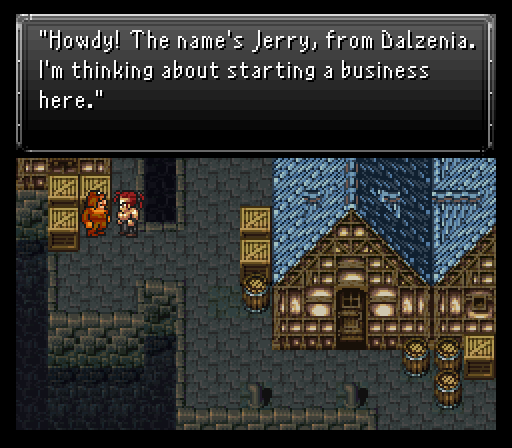
Also of interest is a curious NPC in the southwest by the name of Jerry. He's selling Machine Oil for 500 gil. Pick up one because clearly it's involved in some kind of sidequest later. Not quite sure where yet though. Now just talk to the ship captain and that's it.
With that, scenario #3 is done, meaning the scene now switches over to Fraust. Aurora, Serin, Astral, and Arvis are trying to get the thick headed buffoons of Fraust to realize there's a war coming to their doorsteps, but of course said buffoons think they're just coming for the esper.
As the rest of the crew comes pouring in with their own stories, it becomes obvious...KINDA can't ignore a big wave of soldiers that want the esper and will stop at nothing to get it, even if it means killing townspeople. Only one thing they can do and that's to protect the esper who's been moved up into the snowy mountain...even if Avalon's got some rightly deserved hesitation to trust Tifa right now.
When you gain control of Aurora, there's a familiar fellow by the save point, Oboro. Turns out he caught wind of the battle to be starting soon and decided to come out and offer his services. For 3000 gil, he'll be a party member you can deploy for the upcoming battle.
Next time...the gun barrel of battle begins to keep the esper out of Kefka's hands.