Part 5: Expository Banter
Scenario split: Aurora's return to Fraust
It's time for the fabled scenario split. Aurora, Ronan, and Cloud each have their own route they'll be taking to return to Fraust. Aurora's is the shortest, Ronan's by far the longest, and Cloud's falls in the middle of the two.
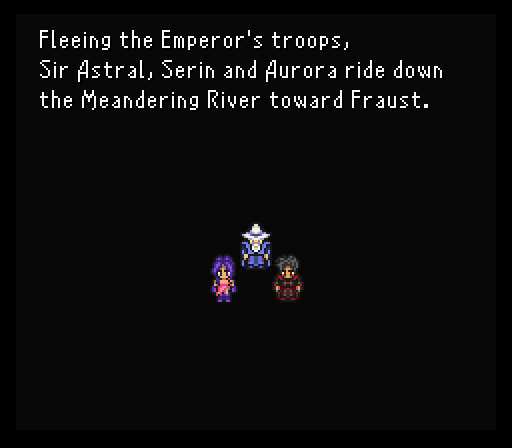
For this part, I'll be dealing with Aurora's scenario. Herself, Serin, and Astral are going to have the quickest return to Fraust. They just have to finish the raft ride on the Meandering River. Might be a touch trickier since Ronan isn't around, but Aurora's Break spell can neutralize pretty much any major threat while Serin can trip up multiple enemies with Cosmic Fang.
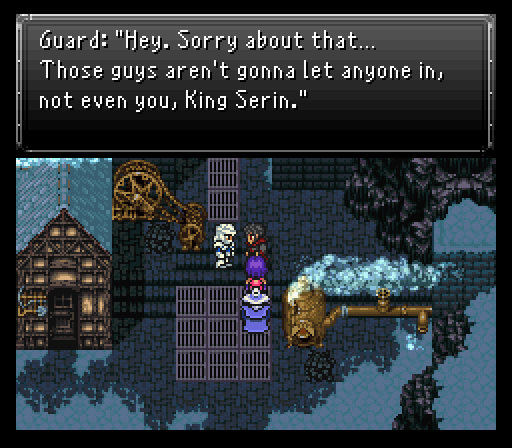
Once you're off the raft and back on the world map, it's an easy trip back to Fraust. The problem though? Going in the front door of town is a no go, but at least we're introduced to another guest character, a Fraust Guard named Marcus who is willing to help us out. He hints that there's another way in, which must be the cave passage from when Cloud saved Aurora all the way to the west of the Developers' House.

Linear path after going in so all seem's fine, right? Well, upon entering the second cave, not only are there new monsters to destroy, including Neematoads, Fungi Beasts, and a rare formation of those two plus a Napalm, there's a bridge. You're going to want to throw everyone into the frontlines and heal up before attempting to cross that bridge. Having Aurora with Dispel or a spare Diffusal Rod is advised too. Why? Because it's a big bridge and some kooky swordsman from Final Fantasy V wants a boss fight in this scenario. Yup, it's none other than Gilgamesh, complete with his trademark killer battle theme!

Gilgamesh does not play around, hitting like a truck with his physicals. His opening move is four physical strikes on random targets, each one doing 130-160 to back row characters. Not something anyone wants to get smacked by at the start, especially Astral and his lower hp pool.
The rest of his attack loadout includes a stronger physical strike, the aptly named Strongest Sword, jumping up and landing on someone (although the damage is nothing special), ailment inflicting moves like Hex & Confuse, and his sole AoE move Aquatic Breath.
Finally, after doing enough damage, Gilgamesh claims he can't fight everyone at once....or so he says. Right after saying that, he buffs himself with Protect & Shell, then chucks a Silver Spear at someone. I am VERY lucky he decided to toss it at Aurora because she was the only one who could take the 750+ damage hit and not die instantly. Dispel those buffs immediately, then take your time whittling him down.
During the long fight, try to get Serin or Aurora to use the Thief Knife and swipe Gilgamesh's Iaito. It's a weapon for someone Ronan will meet fairly early on in his scenario.
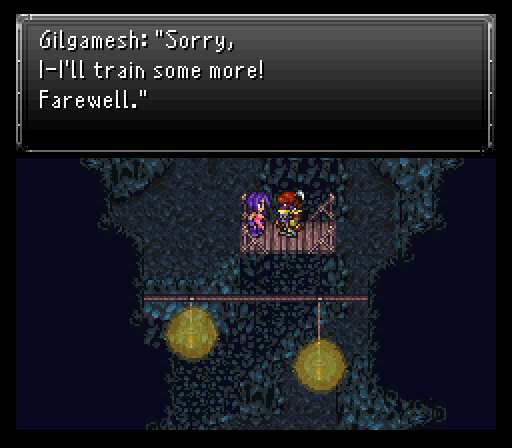
Once Gilgamesh actually has had enough, he'll flee, leaving behind a nice chunk of exp and a Might Tab.
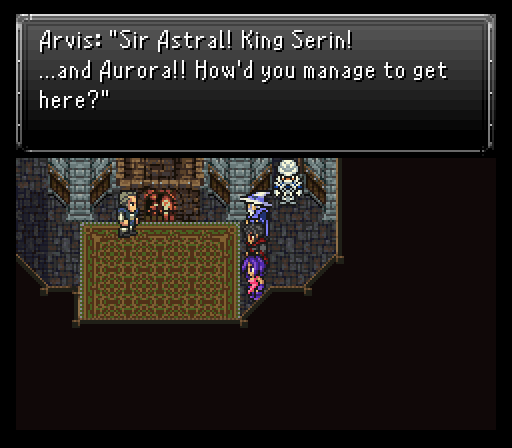
The rest of the scenario is pretty uneventful as the team is just making their way back to Arvis's house. There's a minor puzzle which requires you to follow the path a light traverses, but that can be cheesed a little if you have good timing tagging the light when you go out of bounds. If you mess up you'll have to fight some Napalms.
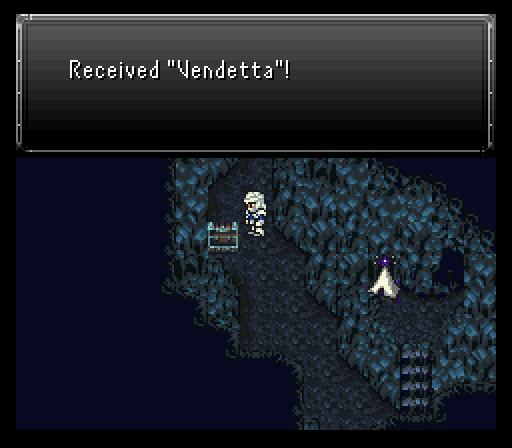
If you want, you can visit the moogle's abode just outside of where you first protected an unconscious Aurora. Nothing real special talking to any of them, but there is a chest with a Vendetta, a weapon for Cloud that doubles the damage he deals to humans & plants. He'll appreciate this quite a bit as he's going to be dealing with lots of human enemies in his scenario.
Unlike the original, the game now unequips your characters for the next scenario, so there's no need to worry about doing that.
If you thought that scenario was short, you'd be right, but don't worry because the next two make up for it. Since Cloud's is the second shortest, and we want his found items to be available for Ronan's, we'll be doing his next.