Part 23: Aggro Crag & Haunted Gallery
Minor quest cleanup:
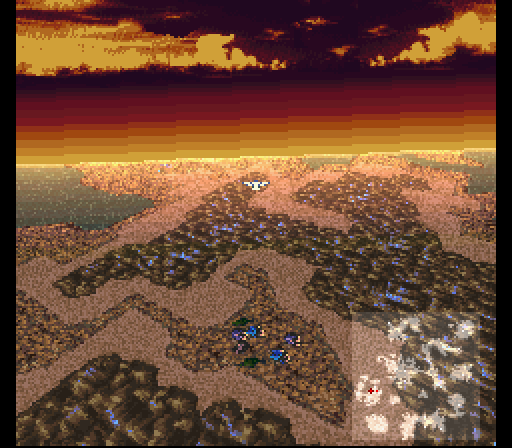
Golbez is in my team so I can start clearing out whatever I want really. May as well let him show off a bit in the Coliseum to kick things off. Remember to save before boarding the airship, as that previously mentioned monster is still flying randomly around the skies.

First thing's first...Stamina Tabs can be bet for Might Tabs, Speed for Magic, and vice versa for both. Only bet all my Stamina Tabs so Golbez has tons of might and good speed & magic, perfect for a black magic fighter.
Next...betting a Mjollnir to fight a Harbinger. Golbez's massive defensive bulk using a Daedric Shield, Dragon Helm, and Chaos Plate means that the Harbinger has no damn chance of killing Golbez before dying itself. Just make sure to equip a Reflect Ring to bounce back the Harbinger's Scorch, Inferno, and Flare spells. Reward here is a nice weapon, the Dream Sphere. Good attack power and can randomly cast Sleep. Ranged weapon too.
Next, betting a Fairy Robe. The opponent is a Decepticon who spams Null-Ray (inflicts stop) like its going out of style. Not particularly bulky, but extremely annoying cause of the stop spam. Persevere though and the reward is well worth the hassle, the Shaman Dress. Increases mp by 25% magic by 4, speed by 2, might & stamina by 1, high defenses, resists water/earth/holy, and nullifies fire/ice/lightning.
One of Avalon's Masamunes gets bet next with the opponent being a Xenomorph. Can hit hard, especially with Meteor, but the real danger is Cinderizer. If that hits, it's instant death. At the least the reward for getting past this is good, the Uchigatana. High power and can randomly cleave an enemy in half.
Finally for betting, there's the Hyper-Fist which pits Golbez against an Auroch. Spams Headbutt & Meteor for some pretty brutal damage, but it's not enough to out damage Golbez wielding a Blooddrinker. The reward is a Shatterhand, a fist weapon that can randomly cast Stop.
That's all for arena betting now so let's take care of a couple minor tasks around the world. Starting out, there's a large island in the southeast with a singular hut.

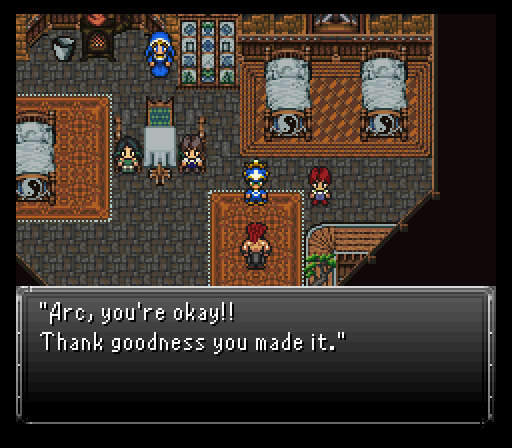
This is the Orphanage from Ronan's scenario and, as luck would have it, Arc's there. He seems reluctant to want to rejoin the team because he feels he's needed for the kids here. The nun, Teresa, says he should go with the team once more, saying he has a chance to brighten the future for all the children. He does just that and boy is he welcomed because he can equip Soul Calibur and start learning Curaga.
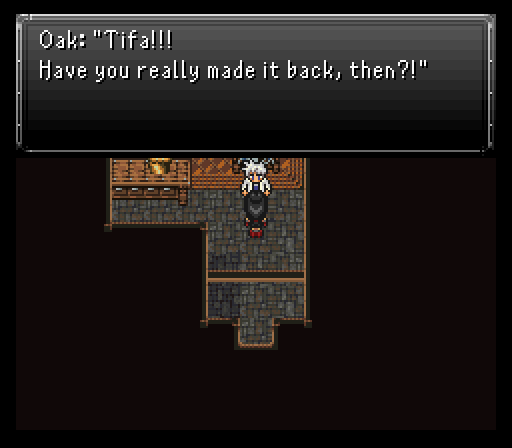
Next, to the island Tifa woke up on. With Oak alive, you can talk to him and have him relocate to the airship.
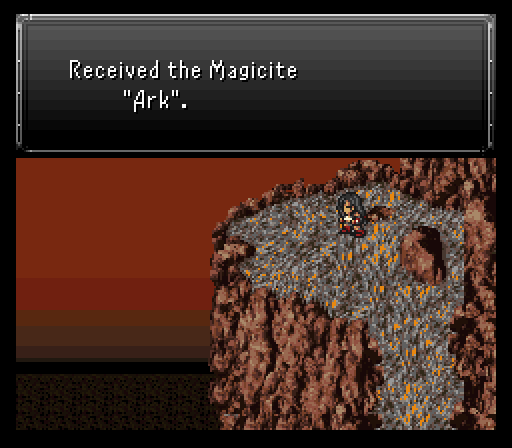
But before we take off again, go to the Cliff of Despair to the northeast on the world map. At the northern end upon entering, there's a magicite just sitting there for the taking, Ark. Notable because it teaches Hastega among some other spells which is very nice.
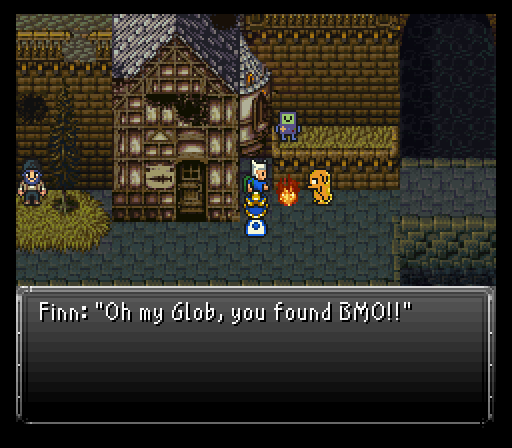
Right after that, I fly to Alvantes to the north. Since we picked up BMO in Seascape Town, we can return him to Jake & Finn to get the Midgar Zolom esper in return.
Finally the team returns to where the carrier pigeon flew after acquiring the new airship, the town of Taured on the western strip of land on the world map.
Taured has an interesting armor up for sale among other things, the Misty Coat. Absorbs wind I believe which is really nice. I'll need to get some of these since a couple of bosses will really benefit from absorbing or nullifying wind in the future.
Weapon shop has Angrists (high evade knife), Dual Breakers (sword that randomly casts Energy Blade), and all of the throwable scrolls.
The main reason to come to Taured though is the house on the northeastern end of town.
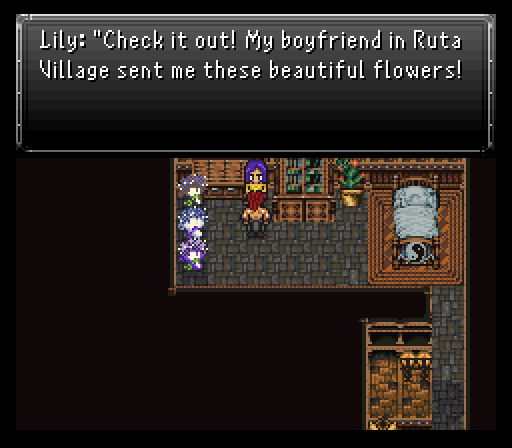
Lily is in the house and she's been getting letters from her boyfriend in Ruta Village. Yeah, the Ruta Village that's been leveled more or less. That means someone has to be sending letters in the injured soldier's name...and as it turns out by examining the letter on the desk, it seems to be Avalon. Luckily, Lily provides a way to track him down by asking you to attach a reply to the carrier pigeon outside her house. Do so and the bird flies to Rogue City, your next destination.
Mt. Etlich:
Just a little to the southeast of Taured is Rogue City. The carrier pigeon is waiting inside the area and flies to the north. We'll follow it shortly, but first there's a curious individual walking around outside the building that the Master Tonberry sat next to.

He's selling some Rust-Aid for 3k gil, an amount you can easily farm up on the enemies around the area if needed. Take the Rust-Aid to the top of the building with the pub sign and you can unlock a door up there leading into a new dungeon, Mt. Etlich.
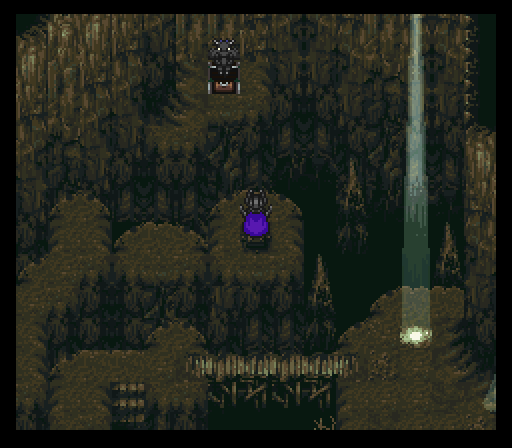
The new enemies in Mt. Etlich can very definitely give you a run for your money in the right formations, namely when dual Ultima Demons show up. They have strong tier 3 elemental nukes, love to chain cast Inferno & Nova back to back, maybe even toss in Blizzard there, and can toss Rune Blades at a character for around 3500 damage. Cute!
Long story short...keep your hp levels topped off before each fight since nothing should be taken lightly, even if they can get blown up very quickly.
Other monsters running rampant on this godforsaken mountain include:
- Arzuros - Savage, bear-monsters with a hefty amount of hp.
- Hinnox - Giant, cyclops-like ogres that can hit up to three times in a row.
- Legion - Hard-hitting soldiers that show up in groups. If one dies, the others will Raise them back after a short amount of time.
- Skeletor - These evil, skull-faced supervillains steal, throw rocks, and escape. They can drop Tekken Claws.
The dungeon's pretty linear overall, but the treasure's very good. There's one each of the three elemental essence shields (red, blue, gold) along with three new pieces of equipment and all of them are very nice pickups. Those three are as follows:
- Vitality Cap - Helmet that provides a 25% boost to max hp.
- Star Shield - Shield with high defenses and high magic evasion.
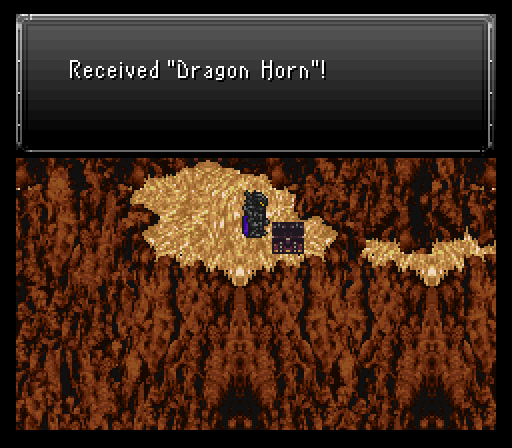
- Dragon Horn - Relic for Otis that changes his Jump command to X-Jump, letting him perform 2-3 consecutive attacks.
Not much else to mention until the save point. There's a chest that's out of reach to the northeast of it as well as a switch. Stepping on the switch releases an angry dragon that flies around which happens to be one of the eight dragons released when the world was torn apart. We'll be coming back to fight it later, as we wouldn't stand much of a chance currently.
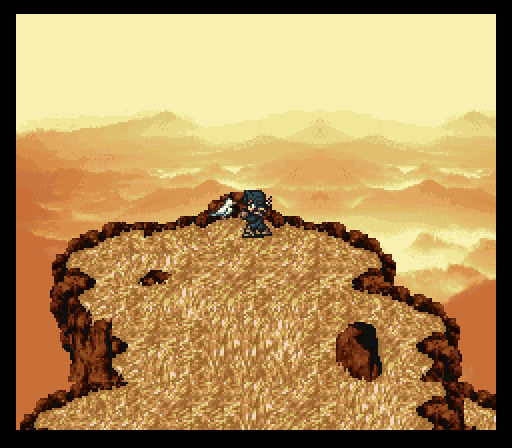
A few rooms after the save point you'll see a Roundillo Rider vendor who sells you overpriced items. Continue into the next room to find a bunch of flowers, a letter, and a Golden Apple in a chest, then find Avalon on the nearby cliff. As it turns out, he heard about Lily passing through Taured and felt really bad, hence the reason he'd been sending letters in the fallen soldier's name. He had been planning to send a letter telling her the truth very soon too.
Regardless, Avalon's back on our team and getting some use for the next area I want to visit. I need to grind out 100k gil though which isn't hard, given the gil payouts from Mt. Etlich. You can also return to Lily in Taured with Avalon to switch the letters and speak with her for a small scene to play out.
Secret: There's actually a much faster way to get that 100k. If you once again climb up to the top of the buildings in Rogue City, to the room Aurora was in, you'll come across a certain NPC... If you say his name correctly, he will give you 100k to keep quiet.
Guru's mansion:
Got my 100k gil farmed up so I take flight and head to the southwestern continent. Where I stop first is the town of Fraust. There's some important work to do in there, but I want to pickup a couple more easy to get characters first.
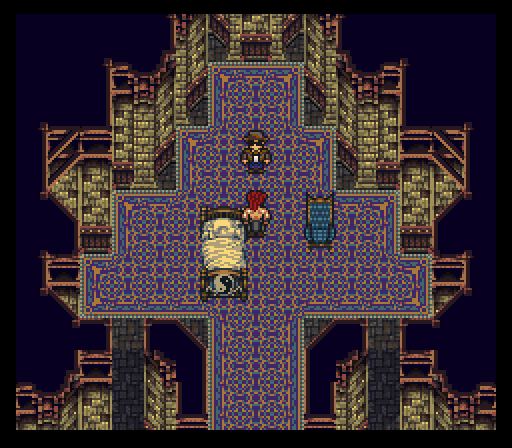
However, I do want to visit the green tower to the southeast of Fraust. This is the Tyrano Tower and there's two important NPCs at the base of the tower to interact with. First one's in the northeast and sells a bunch of elemental rods + Reaper's Soul Harvest scythe. He's also Shrek.
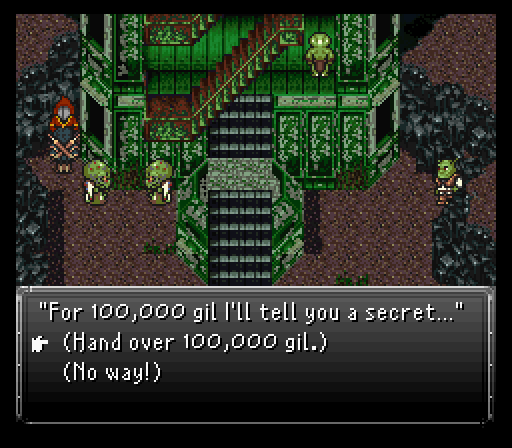
The other NPC is the red robed one in the northwest. He's selling some secret information for a hefty 100k gil price. Pay it and he will give you a hint...the Phoenix Cave is hidden in the head of the humanoid looking mountains. This is referring to the mountain formation near the Orphanage with a tiny plain looking mountain which could be interpreted as a head of sorts. If Cloud's looking for something to help Aerith, it'd be a good bet he's there.
For now though, I exit the tower and head back to the continent I just left. Besides Rogue City & Taured, there's the Opera House and one other town, Sunfall City. The latter is the focus of this segment for one very important reason. I take Avalon and Arc along so they can finally see some action and become stronger.
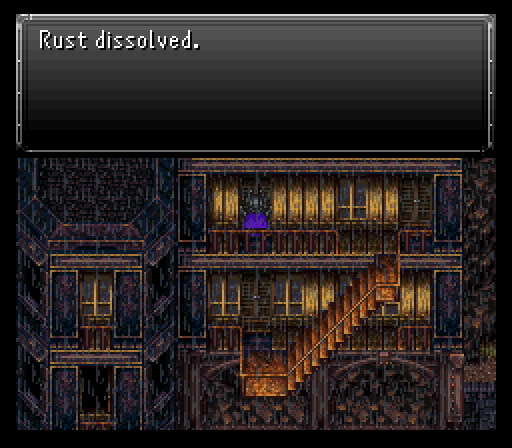
At first, nothing's really changed about Sunfall City besides the shops and what's being sold at the holy auction. There's a pretty big change though if you head into the mansion in the north. Seems someone turned off the lights inside, but you can turn them back on. If you try going up the stairs first without doing so, an unknown force will push you back down and a voice will laugh at you. Then a note with a hint to turn on the lights will appear as if by magic.
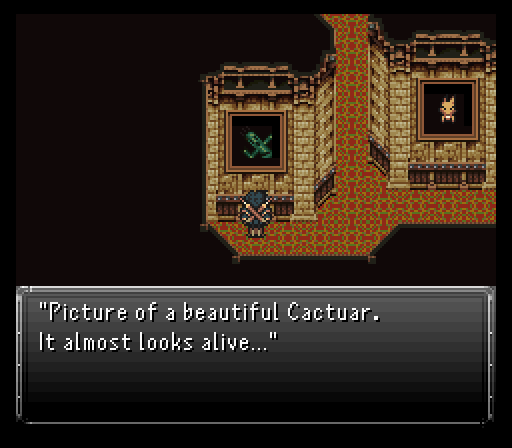
Of all the paintings, two are interesting...one is a portrait of King Alister, the King from FuSoYa's flashback. If you inspect it twice, you will receive an ancient letter, which gives a hint for a place we will be visiting later. The other aforementioned painting is a Cactuar. Examining it causes it to come alive and attack the party. Not especially dangerous, but has massive physical defense. You'll wanna finish it off quickly before it uses 1000 Needles ten times in a row.
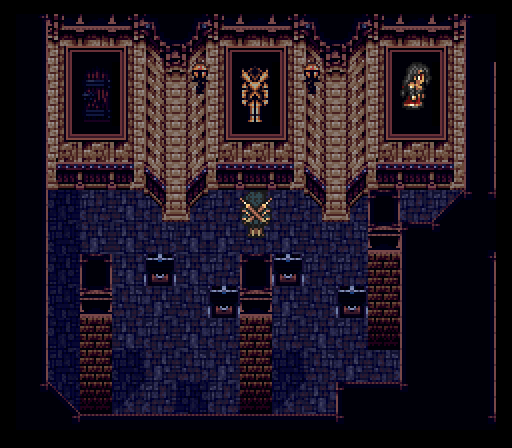
The door that opens after the Cactuar's fall leads to the lower levels of the mansion which someone houses a bunch of monsters. Much like Mt. Etlich, you don't want to run into fights at anything less than full health. In the first room, avoid stepping directly in front of the painting of a chair to circumvent a battle. The battle is just one of the random encounters in this place. Speaking of those, you can encounter:
- Cezanne - A haunted painting that summons espers and uses scrolls. You can steal Ashen Cowls from them.
- Flyclops - When one remains, can use a petrifying attack called Gnaw. You can steal Skelly Suits from them.
- Melville - These unassuming insects have a strong physical special attack. Can Self-Destruct when one remains and is attacked.
- Shokan - Rare encounter. Can attack up to four times in a row and use various low-level spells. They have more hp than the other monsters here, and their special attack inflicts stop. You can steal Elite Armors from them.
- Skree - They are fast, have a strong special attack, and if one remains will use high level spells. You can steal Ghost Suits from them.
The treasure starts out simple enough with an always useful Elite Armor and a hidden Soma Drop, then you'll reach a room with four floating chests. Each one forces a fight for the team to cleanup - a 3/4 chance to fight a pair of Shokan, or a 1/4 chance to fight Cezanne and Skree. In total, you'll get 10k gil, an Atomic Ball, Speed Tab, and Might Tab. You can then proceed from there by checking out the middle portait who comes alive an attack you.
This hulking titan of plate armor hails from Dark Souls and his name is Havel. As expected, his physical strength is pretty damn high, especially if he uses his physical special Stonebreaker. He's also got Shrapnel Blades which can potentially one hit kill some low mdef targets. And also Flare, which rips completely through mdef.
Worst of all, he's got Death Sentence and counters everything with it. He can even target people that didn't trigger the counterattack with it which is great.
Despite all this, not a particularly nasty fight. He's weak to water, so I had Avalon equip some magic-enhancing equipment and summon Leviathan for some major damage, while Otis summoned Ark, which also dealt good damage. Havel has a Cosmos Ring to steal and drops a Wraith Blade upon his defeat. Oh, he also starts with Reraise status, which hopefully won't come back to bite you in the end.
Like the Cactuar, defeating the monster in the painting causes a door to appear behind it. Take it to reach the save point. After some equipment shuffling on my end, the team runs into the next room to find Guru...or Super Kami Guru, whichever you want to go with.
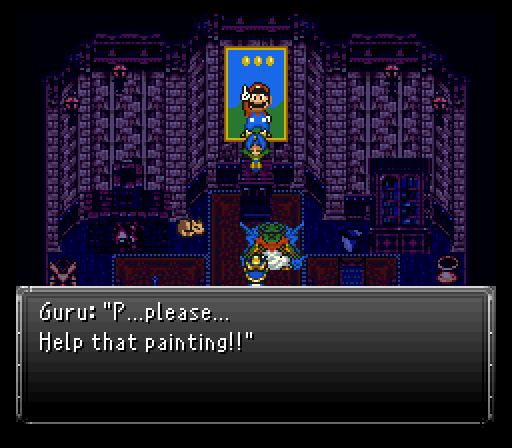
Anyways, Guru's got a problem...his prized painting of the esteemed Mario has been possessed by an evil spirit, that of Mr. "D'oh I missed!" Wario. The exorcist he hired to help oust the spirits? Eiko. She needs a little help though.
Alongside Evil Mario is Wario. The former focuses on using fire based attacks while the latter uses mainly earth based attacks. Both utilize physical attacks as well as jump at times, Evil Mario being the quicker one and having a high chance to cast Dispel beforehand, Wario being slower but stronger and having a lesser chance to cast Magnitude Eight after landing.
Not much needs to be said here for strategy, pick one of the two to take down and go for him first. I usually go after Evil Mario since he's more prone to launching AoE attacks, and can use Lullaby once his hp is lowered. Wario's not too much of an issue to deal with afterwards, just be prepared for a possible Cursed Breath attack once he's under a certain amount of hp, as well as the ever dangerous Orb of Travel and Death spells.
They both share a gimmick where if a party member has Clear status, they'll cast a spell to undo it - Mario uses Scorch, Wario uses Storm.
Evil Mario gains a bunch of hidden statuses on his "second life", and Wario gains a bunch of negative statuses in order to use Rippler on an unsuspecting party member.
Speaking of "second lives", now is the time to explain that:
"Monster extended its life force!" - This message will appear after completely draining a powerful bosses' hp. Think of it as an 'extra life', meaning you will need to completely drain the hp once again. Depending on the difficulty setting, certain bosses will either get zero extra lives, one extra life, or two extra lives.
Didn't get Evil Mario's steal, but it's only a Shatterhand. Wario's First Strike though is a nice steal.
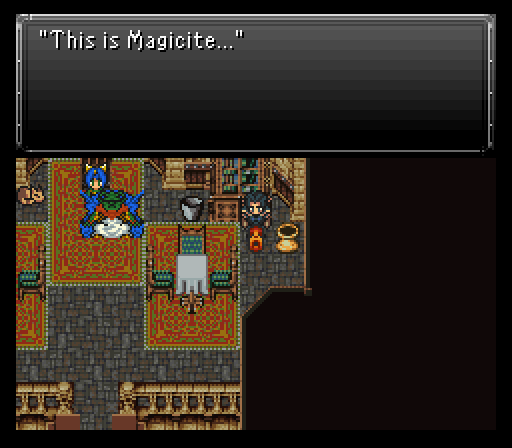
After the battle...Guru tells you to take the cursed gem that brought his misfortune, the esper Hades. Eiko also returns to the party.